
Seriously! I successfully installed Jupyter Notebook with OpenCV on my Android NO-ROOT tablet. This may sound crazy and useless, but I why not? The performance of the tablets these days is exaggerated — thanks game industry — so let’s use it for something meaningful. Personally, I have a solid tablet, but I never really used it. And that will change!
Tutorial is up to date with GNURoot Debian app version 0.6.8.
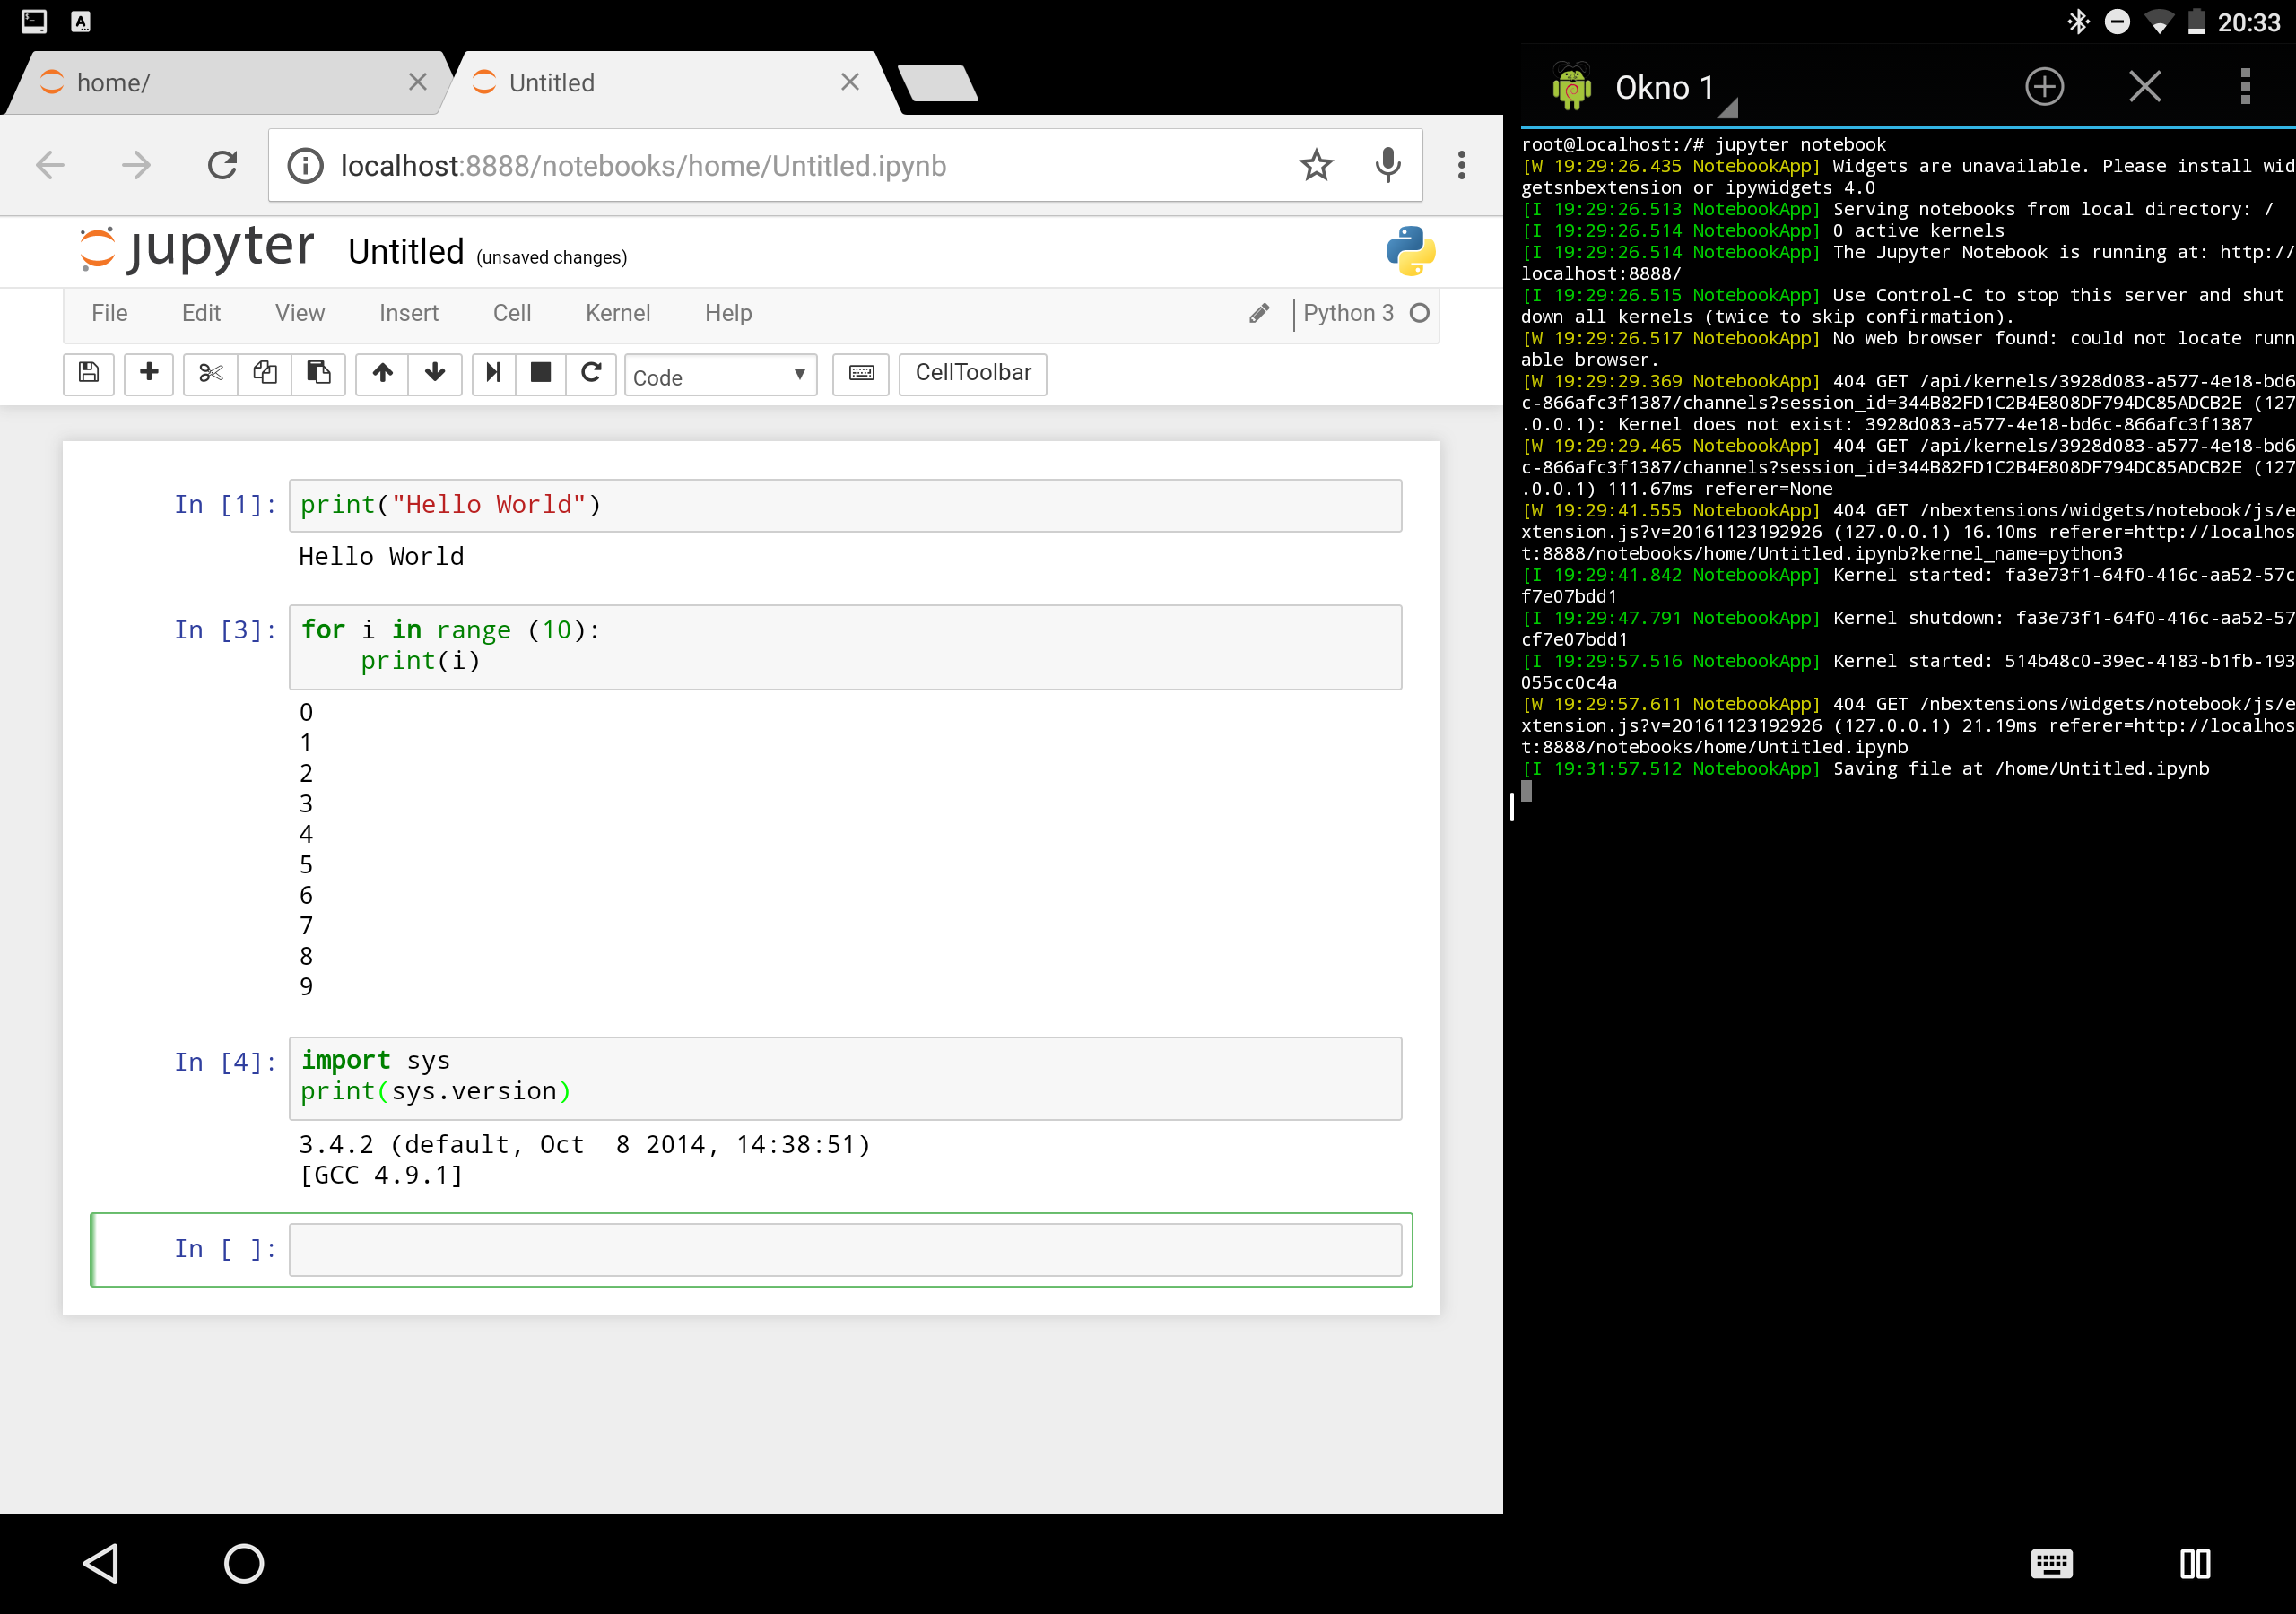
I really works! Jupyter notebook on Android
SciPy and Jupyter
UPDATE 4-3-2017: There are some issues with the latest version of the GNURoot Debian app (0.6.8), in order to install the Jupyter and SciPy, I recommend using this script made by me. After installation, you can skip to OpenCV section.
I want to make clear from the start that I’m running Android 7 (screen splitting) and I don’t guarantee that it will work exactly same on your machine. You should be prepared for some improvisation. You can ask questions down in the comment section.
During the process, I strongly recommend using hardware keyboard. If you use software keyboard, the Hacker’s Keyboard may come handy.
We will start by installing the GNURoot Debian app on our device. This app is a complete miracle because it simulates the Linux environment and it allows us to use almost all packages. The app isn’t perfect, but it is still under development. Then follow these simple steps:
- Open GNURoot Debian
- Go through the installation process and open terminal of GNURoot Debian
- Type
apt-get update && apt-get upgrade - Type
apt-get install build-essential
In the app you are root and you don’t have to use sudo. Now we are ready to start installing Python. I’m using Python 3. In case you are using Python 2.7, simply delete all 3 from commands.
- Type
apt-get install python3 python3-dev python3-pip - Type
pip3 --version, we need to check the version
I have version 9.0.1 and I guess that 8.* should also work. When I was installing it, I got much older version of pip ― I’m not really sure why — which doesn’t work. In case you have an older version of pip, you have to upgrade it by running:
- Type
easy_install3 -U pip - Type
pip3 --version, just to make sure everything works correctly
Now you should be able to install whole SciPy stack including Jupyter.
- Type
pip3 install numpy scipy matplotlib ipython jupyter pandas sympy nose - Type
pip3 list, to check if everything is installed
In case this doesn’t work, try installing them via Linux package manager (you can skip these steps if pip3 list shows all packages):
- Type
apt-get install python3-numpy python3-scipy python3-matplotlib ipython3 ipython3-notebook python3-pandas python3-nose - Type
pip3 install jupyter
Congratulations! If you successfully followed these steps, you should be able to run Jupyter notebook with SciPy stack. You just have to run jupyter notebook and then open your browser and type localhost:8888. We’re doing good so far, but we want more, we want to install OpenCV.
OpenCV
UPDATE 4-3-2017: I also created script for installing OpenCV. Get it here.
If you installed OpenCV before, then this will be very similar. Since I’m using Python 3, I have to install at least OpenCV 3.0 which supports it. We will start with installing all necessary dependencies:
- Type
apt-get -y install libopencv-dev build-essential cmake git libgtk2.0-dev pkg-config python-dev python-numpy libdc1394-22 libdc1394-22-dev libjpeg-dev libpng12-dev libtiff5-dev libjasper-dev libavcodec-dev libavformat-dev libswscale-dev libxine2-dev libgstreamer0.10-dev libgstreamer-plugins-base0.10-dev libv4l-dev libtbb-dev libqt4-dev libfaac-dev libmp3lame-dev libopencore-amrnb-dev libopencore-amrwb-dev libtheora-dev libvorbis-dev libxvidcore-dev x264 v4l-utils
Now we need to download the version which we want — latest stable version is 3.2.0 right now. You can also use git, but then you have to checkout to the right version. And we also create separated folder for build.
- Type
cd /tmp - Type
mkdir OpenCV && cd OpenCV - Type
curl -L https://github.com/opencv/opencv/archive/3.2.0.tar.gz | tar xz - Type
mkdir build && cd build
Now we are ready to start the build. Be careful because this can take a while. OpenCV allows a lot of cmake settings. I use only WITH_FFMPEG=OFF and WITH_1394=OFF because it gives me an error (probably badly installed library) and I also don’t need video support. Also use -j $(nproc) after make command, it specifies the number of processor and it can drastically speed up the build.
- Type
cmake -D CMAKE_BUILD_TYPE=RELEASE -D CMAKE_INSTALL_PREFIX=/usr/local -D WITH_1394=OFF -D WITH_FFMPEG=OFF ../opencv-3.2.0 - Type
make -j $(nproc) - Type
make install
And that’s it! Now you should be able to run jupyter notebook and use it as on your computer. In case that something went wrong simply type make uninstall in build folder and try the installation again.
Summary
Hopefully, you find this tutorial useful. And let me know down in the comments if you get stuck. Obviously this can’t be as fast as on a computer, but I find it really practical for traveling. I can’t even tell the difference in speed on basic OpenCV operations.
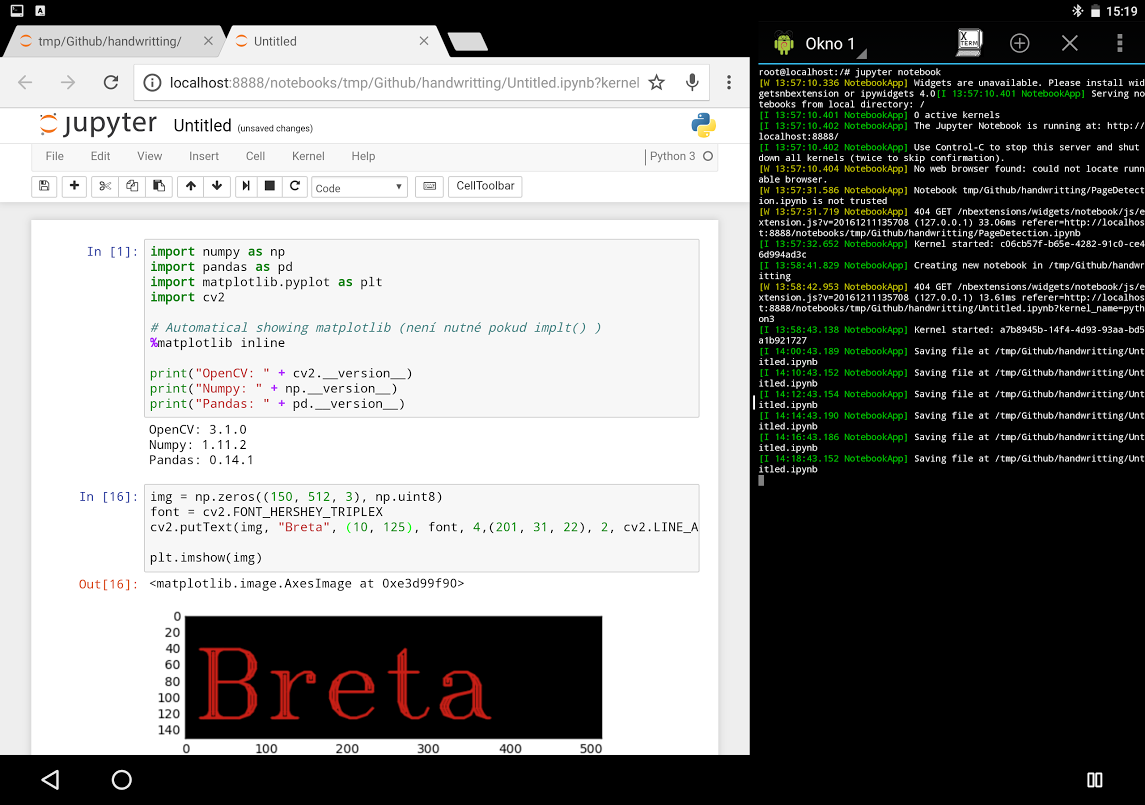
Breta
Great news!
In the latest version of the GNURoot Debian app (0.6.8) the
git clonecommand should work in all folders.