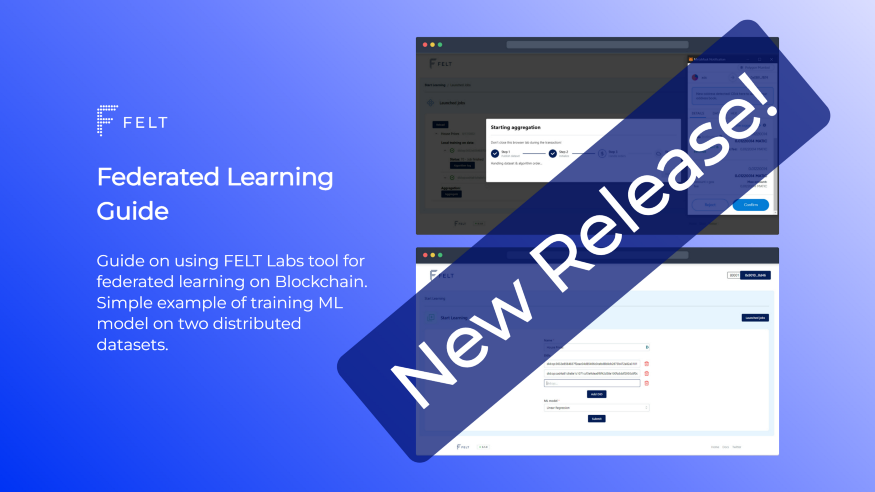
Finally, it’s here! Today I will present the first version of the FELT Labs tool for federated learning on Ocean protocol. This one definitely took longer than we expected. However, this article isn’t about all bugs we had to overcome. This article should act as a step-by-step guide on how to use it.
Federated Learning
Federated learning is a technique for training machine learning models on data distributed across different devices — let’s call them data providers. Our approach splits the training into two distinct stages.
First, each provider trains a local model on its data. The critical fact is that each local model is based solely on data owned by an individual data provider.
In the second stage, these local models are put together, and the aggregation process creates the final model (global model). The global model is a combination of all local models. Therefore this global model is based on all data from all data providers.
This is a very simplified introduction but should be enough to introduce the practical guide. For more information, you can read, for example, this article.
FELT Labs Guide
This guide is compatible with version 0.1.0 of the web app https://app.feltlabs.ai/ (you can see the version in the website footer). Right now, the app is compatible with Mumbai and Rinkeby testnets. In this tutorial, we will be using Mumbai.
Getting Ready
First, you must ensure that you have everything ready to use FELT. A short list of things needed:
- MetaMask it’s necessary for accepting transactions. You can get it here.
- Add Polygon Mumbai to your MetaMask. Just follow this guide.
- MATIC token to pay for transaction fees. Use this faucet to get it for free.
- Ocean tokens to purchase assets. Get free testing tokens.
At this point, you should have MetaMask installed in your browser, and your wallet should contain MATIC and Ocean tokens on the Mumbai network.
1. Data on Ocean Protocol
Data are a crucial part of every machine learning project. We can’t start creating models without actually having some data.
For the demonstration of federated learning, let’s image two towns collaborating on analyzing housing data. The data might contain sensitive information. Therefore, they can’t fully disclose the data. Each town publishes its dataset on Ocean, allowing only computation over data without direct access. We will try to predict a house price based on house parameters (size in square feet, number of bedrooms, bathrooms, material, etc.). Below you can see a demonstration of our data (original data file).
Example of house prices dataset. The target column we want to predict (prices) is the last. In data published on Ocean, we also need to remove the header row.
We already have the data published on Ocean (using Mumbai chain) as the following assets:
- did:op:3632e8584837f2eac04d85466c0cebd8b8cb2673b472a82a310175da9730042a
- did:op:cad4a81c9a8e1c1071ccf3e9dea6f8f42d58e100fa3ddf2950c8f0da9e0dda46
Data Format
For using FELT with your own data, you will first need to have data in the correct data format. Right now, we support only CSV format. With the following rules:
- CSV contains only numerical data
- The last column is the target column
- Remove header row from data
- All datasets used during training must have the same number of columns
You can check this file house-prices-part1.csv which is used in this article. For more details about publishing your datasets on the Ocean marketplace, please read this guide.
If you are using your data, don’t forget to allow the “Local Training — FELT” algorithm or just all published algorithms.
2. Starting Local Training
Now when we have our data ready. It’s time to start the training! Head to the app.feltoken.ai. Before you begin, you will need to connect your MetaMask account. So click on Connect button in the top-right corner. Make sure that in MetaMask, you are connected to the correct account and Mumbai testnet.
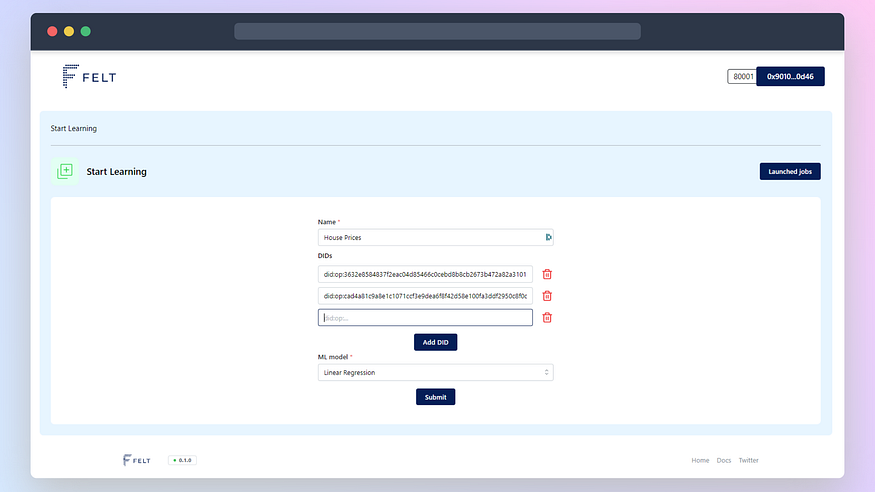
Then you will see a short form where you must fill in the name of training (you can pick an arbitrary one). Then you fill in the DIDs of data; for our demo, you can use:
did:op:3632e8584837f2eac04d85466c0cebd8b8cb2673b472a82a310175da9730042a
did:op:cad4a81c9a8e1c1071ccf3e9dea6f8f42d58e100fa3ddf2950c8f0da9e0dda46
Finally, you will pick Linear Regression as the model to train.
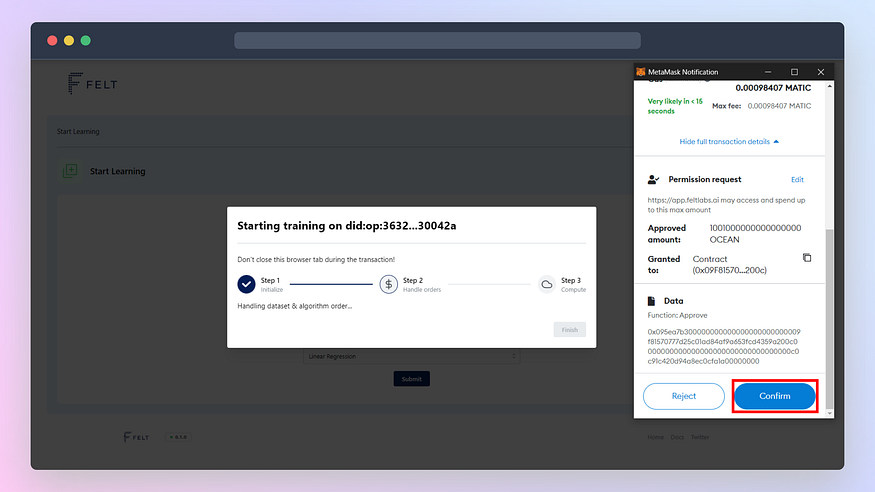
Approving Transactions
Once you hit Submit button, you will see a progress bar. You will have to approve a few transactions using MetaMask to start the training. Here is the list of all transactions you will have to confirm:
- Approve OCEAN token spend to purchase the dataset
- Purchase the dataset (now approve and purchase are separate transactions)
- Approve OCEAN token spend to purchase FELT algorithm for training
- Purchase the algorithm
- Sign request to start the compute job (training)
You have to start separate training for each DID; therefore, you will have to approve the set of the above transactions twice.
3. Starting Aggregation
Once you start the local training, you can go to launched jobs page (you can use Launched jobs button). Here you can monitor the compute job progress. You have to click the Reload button to get the latest status. Once both jobs finish, you can start the aggregation (Aggregate button).

After starting the aggregation, the progress bar will pop up. You will have to approve some transactions once again:
- Sign URLs to access local models
- Publish a new dataset containing local models (accessible only for you)
- Mint data tokens of your newly published dataset
- Order dataset for the compute job
- Approve OCEAN token spend to purchase FELT algorithm for aggregation
- Purchase the algorithm
- Sign request to start the compute job (aggregation)

4. Use Final Model
You can watch aggregation progress. Once it finishes, you will see the Download final model button. You will sign the request and download the final model (in our case final-model-House Prices.json). The file is not a standard machine learning file format. You will have to use the FELT library to import it.
First, you have to install the FELT python library using pip:
pip install feltlabs==0.2.6
Then you can load the model using feltlabs.model.load_model(model_path) function. This function will take the path of the model file as an argument and return the standard scikit-learn model object. You can check the following code for sample usage:
That’s it. You just trained your first model on a distributed dataset! Now it’s up to your imagination to find projects where you can use this technology.
Conclusion
We are happy to reach this big milestone. The first working version sets us on the right track toward building our vision of a platform for federated learning. From now on, we can focus on iteratively improving our tool. That includes adding more models, and custom parameters, speeding up the process, and reducing the number of transactions required.
If you tried following our guide, feel free to leave any feedback here in the comments or on our Twitter @FELT_Labs.
This article was originally published on medium.
Leave a Reply