During my project I came across this problem: How to detect paper page on the photo and cut it out. There are already mobile apps providing this feature, but we could definitely learn something by building it and maybe even improve it. Even though this problem may seem complicated at first, the OpenCV can help us a lot and reduce the whole problem on a few lines of code. So, today I will give you a quick tutorial how to solve such a problem.
Know Your Constraints
Before we start with some code, we should summarize what we want to achieve. We want to take a photo of a paper page, where the page is the dominant element (biggest object in the image). In this tutorial we will assume that page has a rectangular shape (4 corners, convex). Also, we have to assume that there is a decent contrast between page and background. With this in mind, we just have to find a location of corners and transform the image.
Luckily, we use OpenCV which provides for us getPerspectiveTransform() and warpPerspective() functions. With these functions we can easily transform starting points to the target points (documentation for more info). This basically leaves us with only one task: finding corners. OpenCV provides functions for finding corners, but they won’t be helpful in this case.
Finding Edges
Let’s start easy by importing libraries and loading image. For a historical reasons cv2.imread() loads image as BGR, but I prefer to work with RGB image.
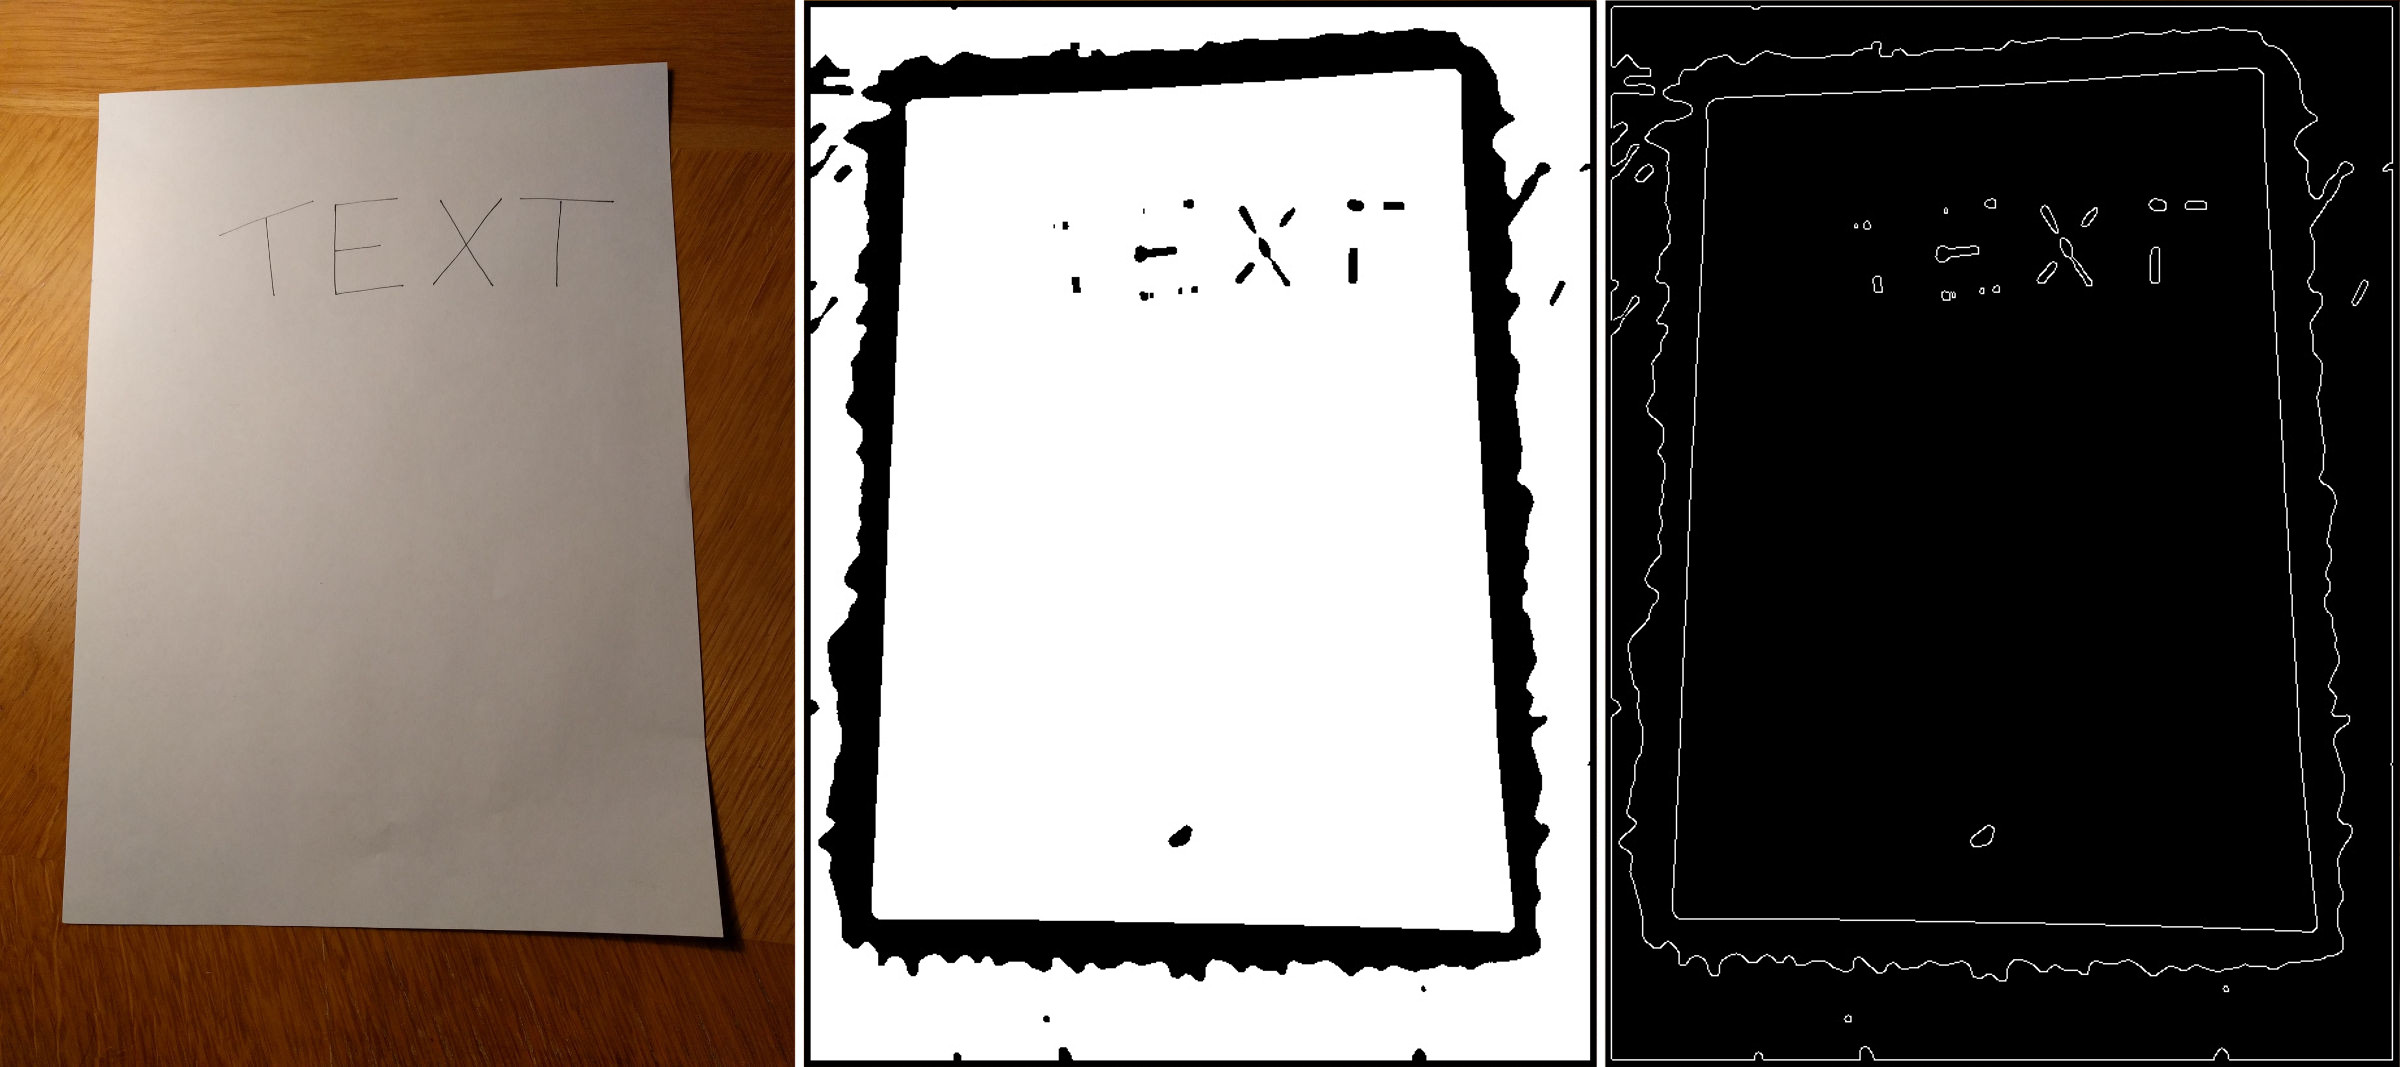
Next step is to find edges in our image. I like to use Canny Edge Detection algorithm. In order to use it, we have to convert the image to grayscale and reduce the noise. We will reduce noise by scaling the image and using a bilateral filter which which reduces noise and smoothes the colors, but also preserve edges. The adaptiveThreshold() calculates the optimal threshold for small regions and apply it, that way different lighting won’t effect the thresholding so much. Then we run median filter for removing small details.

Thresholding produces for us black and white image. Edge detection doesn’t count with sides of the image, therefore in case that page touching a side of the image, the algorithm won’t produce a continuous, closed edge. To prevent that we have to add small border, border 5 pixels wide works just fine. Finally, we can use Canny Edge Detection where we have to specify values of so called hysteresis thresholding, which separates edges into three groups: definitely an edge, definitely not an edge and something between.
Finding Contour
Now when we have edges we can proceed to finding contours. In case my simple explanation won’t be enough, you can find more about contours in this documentation. Right now we have the edges which is basically image with white pixels representing edges and black pixels representing background. From this we will get contours. Contour is a curve joining all points along the boundary of closed edge. And we can easily get all contours by findContours() which returns an array of coordinates of boundary points (parameters: hierarchy and approximation method won’t be important for us, but you should definitely learn about them ?).
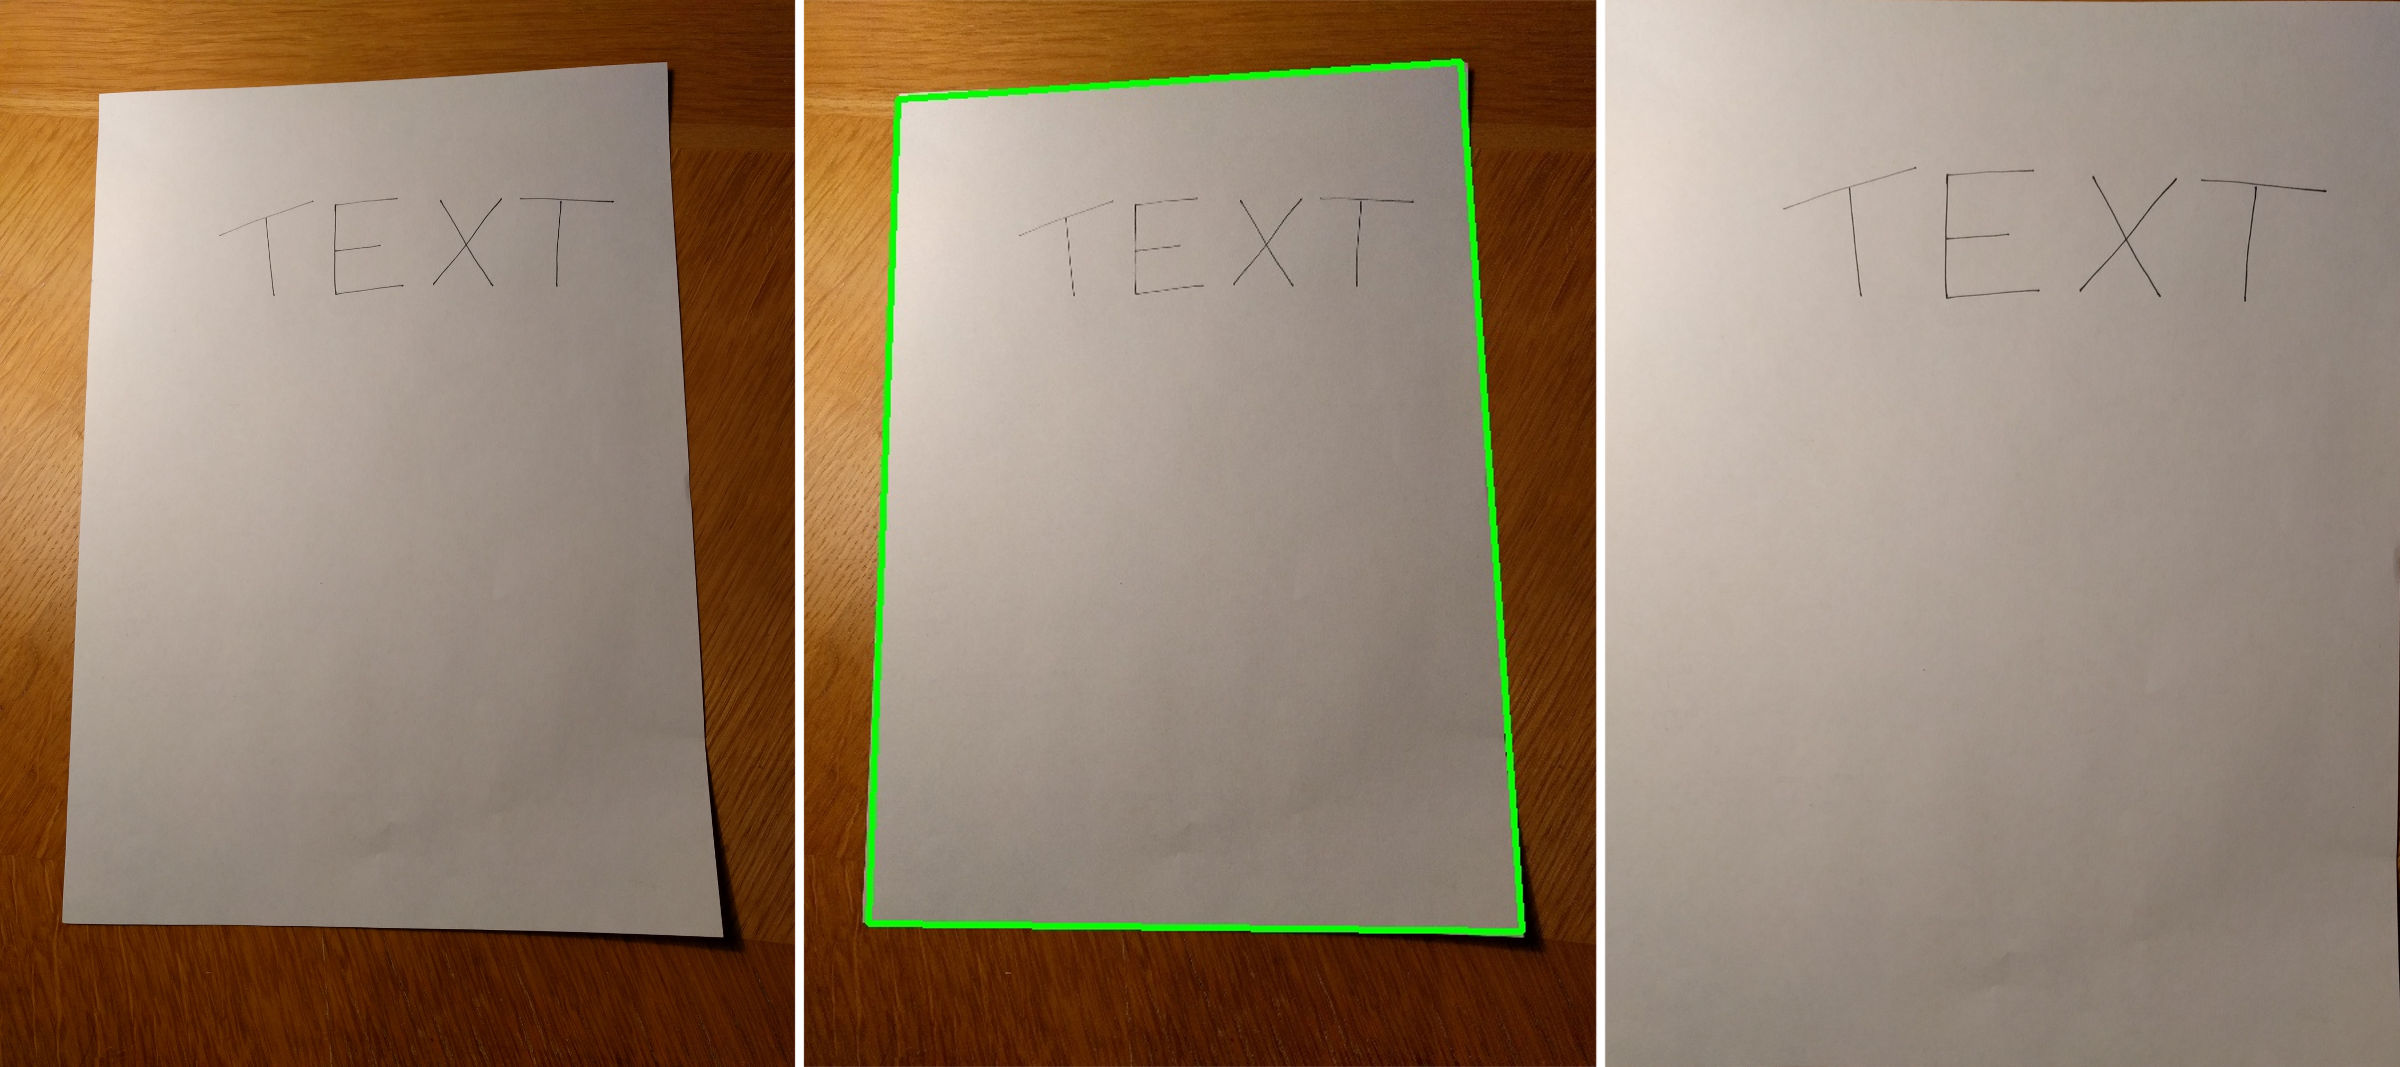
Do you remember our assumption from the first paragraph? Biggest element, convexity and 4 corners? Right now it will come handy. We will go through all contours and whenever we find new contour satisfying our condition we will save it. Because the shape of page contour doesn’t have to be perfect rectangle, we have to use approxPolyDP() which simplify the contour.
Perspective Transformation
We are heading to the finish! Now, when we have the contour, we can apply the function from the beginning. But before we can do it, we have to offset the points and rescale them back to the original size. In order to create target points, we need to know the exact order of our corners. We will order them by using a simple assumption that sum of x and y coordinate is smallest in upper left corner and biggest in the bottom right corner ― similarly for the difference. Then we simply calculate the height and width of new image as a length of vertical and horizontal edge. And that’s it now we can wrap the perspective and save the result!
What next?
The main goal of this tutorial is to show you how easily you can solve pretty interesting problem. I also want to encourage you to experiment with different techniques, filters, and values. Because there may be faster and better ways how to solve this problem. You shouldn’t be afraid to try completely different approaches as using intersections of Hough Lines, tracking the white color on the image or making use of color information (instead of converting it to grayscale).
Working with OpenCV is fun and once you learn the basics you will find it pretty easy. You can find my code on GitHub. Right now I’m working on the Machine Learning part of my OCR project. Stay tuned for more blog posts. Also check the pyimagesearch.com for a lot of great tutorials related to computer vision with OpenCV + Python.

Leave a Reply